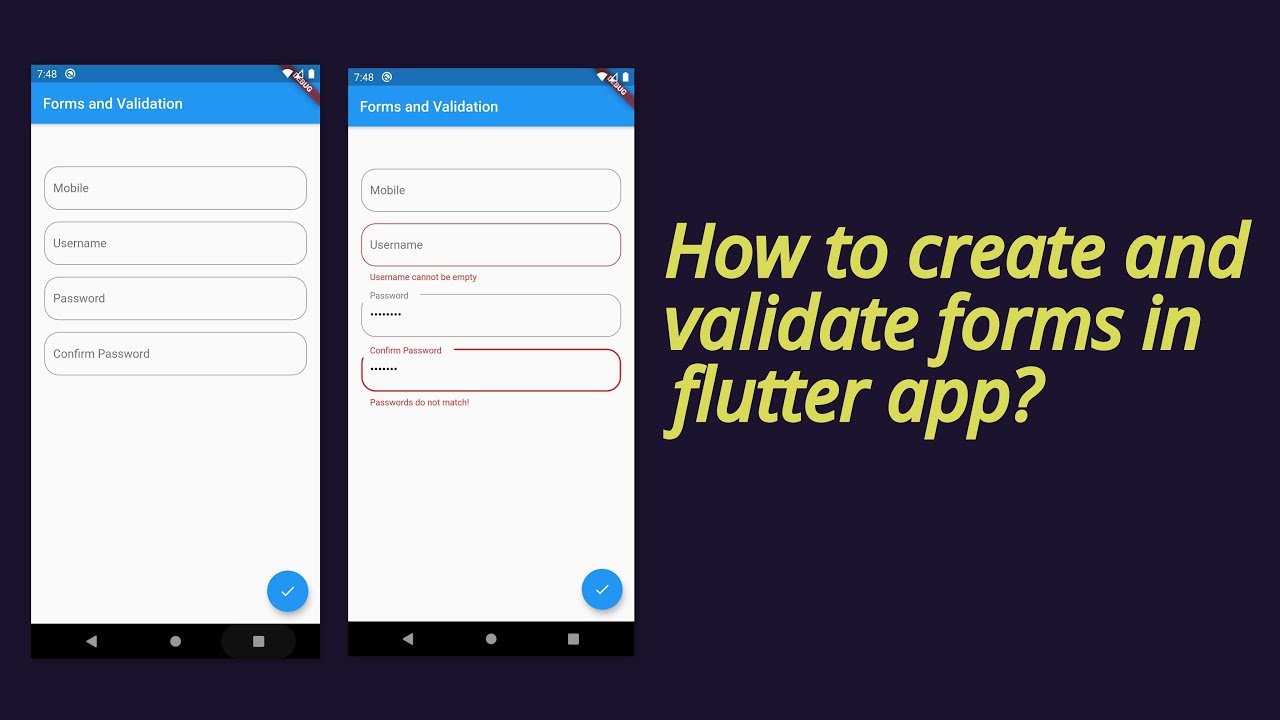
Forms are an essential part of most apps — whether it’s sign-up screens, login pages, checkout forms, or feedback submissions. In Flutter, creating forms is simple, but handling validation properly ensures your app collects accurate and usable data.
In this post, we’ll cover the essentials of building and validating forms in Flutter.
Why Form Validation Matters
Without validation, users can:
- Submit incomplete or invalid data (e.g., wrong email format).
- Cause errors in your backend.
- Create poor user experiences.
By using Flutter’s built-in form widgets, you can guide users to input the right information.
Step 1: Use Form and TextFormField Widgets
Flutter provides a Form widget that works with TextFormField for validation.
Example:
final _formKey = GlobalKey<FormState>();

class FormExample extends StatelessWidget {
  @override
  Widget build(BuildContext context) {
    return Scaffold(
      appBar: AppBar(title: Text("Form & Validation")),
      body: Padding(
        padding: EdgeInsets.all(16.0),
        child: Form(
          key: _formKey,
          child: Column(
            children: [
              TextFormField(
                decoration: InputDecoration(labelText: "Email"),
                validator: (value) {
                  if (value == null || value.isEmpty) {
                    return "Email is required";
                  }
                  if (!RegExp(r'^[^@]+@[^@]+\.[^@]+').hasMatch(value)) {
                    return "Enter a valid email";
                  }
                  return null;
                },
              ),
              SizedBox(height: 16),
              TextFormField(
                decoration: InputDecoration(labelText: "Password"),
                obscureText: true,
                validator: (value) {
                  if (value == null || value.length < 6) {
                    return "Password must be at least 6 characters";
                  }
                  return null;
                },
              ),
              SizedBox(height: 20),
              ElevatedButton(
                onPressed: () {
                  if (_formKey.currentState!.validate()) {
                    ScaffoldMessenger.of(context).showSnackBar(
                      SnackBar(content: Text("Form Submitted Successfully!")),
                    );
                  }
                },
                child: Text("Submit"),
              ),
            ],
          ),
        ),
      ),
    );
  }
}
Step 2: Adding Custom Validation
You can define your own validation logic:
- Phone number: check digits and length.
- Username: ensure no spaces.
- Password strength: require uppercase, numbers, or symbols.
Example for phone validation:
validator: (value) {
  if (value == null || value.isEmpty) {
    return "Phone number is required";
  }
  if (!RegExp(r'^[0-9]{10}$').hasMatch(value)) {
    return "Enter a valid 10-digit phone number";
  }
  return null;
}
Step 3: Managing Form State
You can access user input values with a TextEditingController:
final emailController = TextEditingController();

TextFormField(
  controller: emailController,
  decoration: InputDecoration(labelText: "Email"),
  validator: (value) => value!.isEmpty ? "Enter email" : null,
);
When the form is valid, you can submit the values to an API or save them locally.
Step 4: Best Practices for Forms in Flutter
- Show real-time validation feedback (e.g., green checkmarks for valid inputs).
- Provide clear error messages (“Invalid email format” instead of “Error”).
- Use focus management to automatically move to the next field.
- For large forms, consider packages like flutter_form_builder.
Conclusion
Managing forms and validation in Flutter is straightforward with Form, TextFormField, and custom validators. With just a few lines of code, you can build robust forms that improve user experience and protect your app from invalid data.
Whether you’re creating a login page, registration form, or checkout process, proper form validation is key to building reliable Flutter apps.